Setup:
- Plug the DRA module into your radio and into a USB port on your computer.
- Open Winlink Express then choose VARA FM winlink on the pull down menu (upper right of the winlink menu) and click on Open Session..
- The session setup is the same as any other sound-card interface. Go to the open window labeled Vara FM (mine says Vara FM 4.2.2)
- VARA FM Settings:
- VARA Setup:
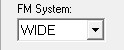
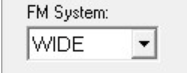
- FM System should be WIDE (NARROW here for Signalink type interfaces). be sure that JU5 is on the “B” side for 9600 baud. The DRA will automatically slow down to 1200 to accommodate slow connections.
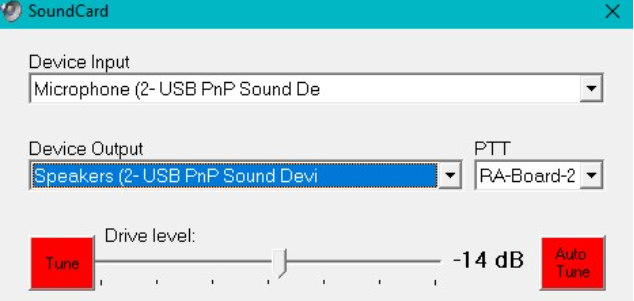
- Sound-Card
- Pick the USB PnP Sound Device.
- The DRA’s sound card can be confirmed by unplugging the DRA, the correct sound-card will disappear from the list.
- The #’2′ may be different for your install.
- PTT: RA-Board-2
- You may need to try both -1 and -2 to see which one the DRA is using. 1 worked for me..
- Pick the USB PnP Sound Device.
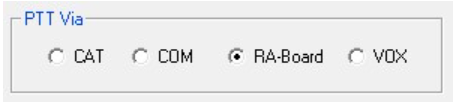
- PTT
- PTT set to RA-Board.
Here are images of what my choices appear on my screen
Tuning from the Settings/SoundCard menu
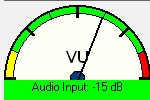
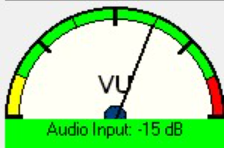
- RX Level
- Monitor an clear channel with no activity, no squelce
- The VARA VU meter should read in the green, ideally about 1 o’clock on the dial.
- Adjust the RX level pot (R12) so the meter is at 1 o’clock.
- TX Level
- In VARA FM click Settings, and the select Sound Card from Menu. The SoundCard window will open up.
- Tune your radio to the frequency of a node which you expect will have a good RF signal to your location.
- Choose one of the W7ACS-10 RMS gateway frequencies for example in Channel selector menu forthe Seattle Area
- Step one:
- Tune a second radio to the same frequency to listen to your signal.
- Click the Red Tune button.
- Adjust the transmit pot (R14 or R16 depending on the position of JU3) until the tone, heard in the second radio is just below the level of a normal voice transmission.
- Click the Tune button to turn off the transmitter.
- Step two:
- Click the RED auto-tune button on the right side of the SoundCard window.
- Enter the node callsign in the callsign box (W7ACS-10), then click the electrical plug icon to the right.
- Your radio should key up and will send 11 transmissions with increasing tone levels.
- At the end of the 11th transmission the gateway node will respond.
- Two numbers will be displayed in your SoundCard Window –
- a Signal to noise value, which is hopefully in the high 20’s or low 30’s ie: “27dB SNR”
- your transmit audio level setting, which is automatically adjusted. On my radios it runs between -4dB and -12dB.
Your done… enjoy!